How to configure Mozilla Thunderbird
From Spiffy Stores Knowledge Base
Setting Up Mozilla Thunderbird
This tutorial will help you set up the Mozilla Thunderbird email client to work with your Spiffy Stores email account. You can download a copy of Mozilla Thunderbird for Windows from https://www.mozilla.org/EN/thunderbird/.
For other email software, refer to How to set up your email program to access your Spiffy Stores mailboxes
Thunderbird is designed to use auto-configuration to help make the setup process simple and easy to use. In order for this to work properly, you must use the "yourstore.spiffystores.com" domain name in your email address.
Note: In these instructions, yourstore refers to the name given to your Spiffy Store, and this is the name that appears in your spiffystores.com domain name. For example, if your store is called sellmore, then your Spiffy Stores domain name will be sellmore.spiffystores.com.
To set up Mozilla Thunderbird:
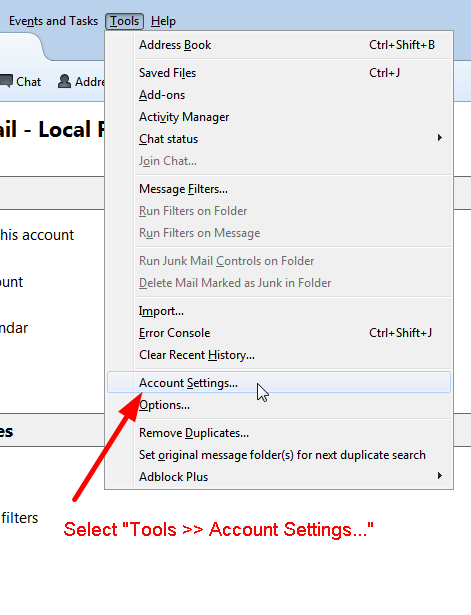
- In Mozilla Thunderbird, select "Tools >> Account Settings...".
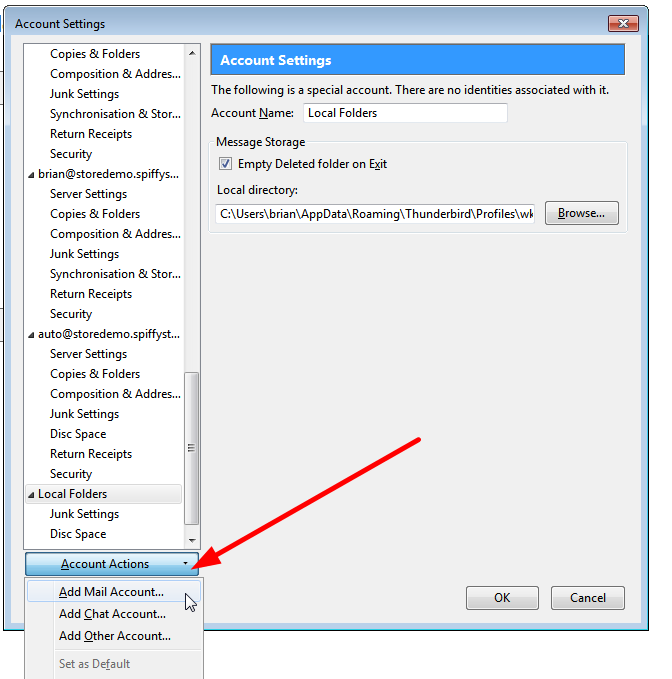
- In the "Account Settings" window, click "Account Actions", then "Add Mail Account...".
- In the "Mail Account Setup" window, enter your name, full email address and password. Your email address should be something like "name@yourstore.spiffystores.com", and is displayed as your "User Name" in the Preferences > Email accounts section of your store's admin area.
Once you have entered all the information, click "Continue".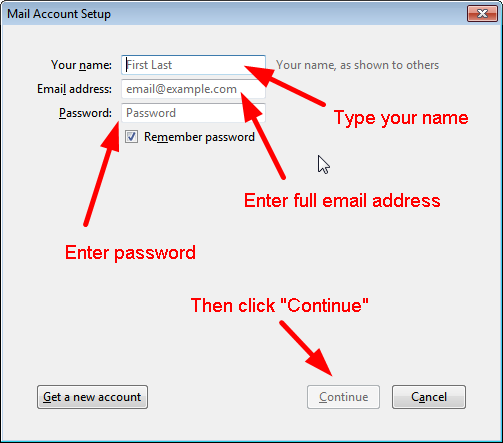
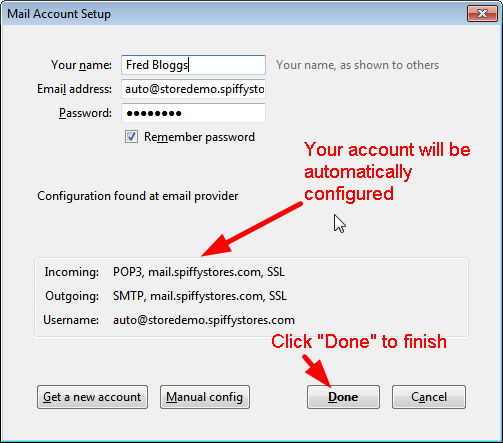
- Your email account will now be automatically configured, and once this process has completed, you should see results similar to these. When you're finished, click "Done" to finish. If something goes wrong, you may need to click on "Manual config" to correct the settings.
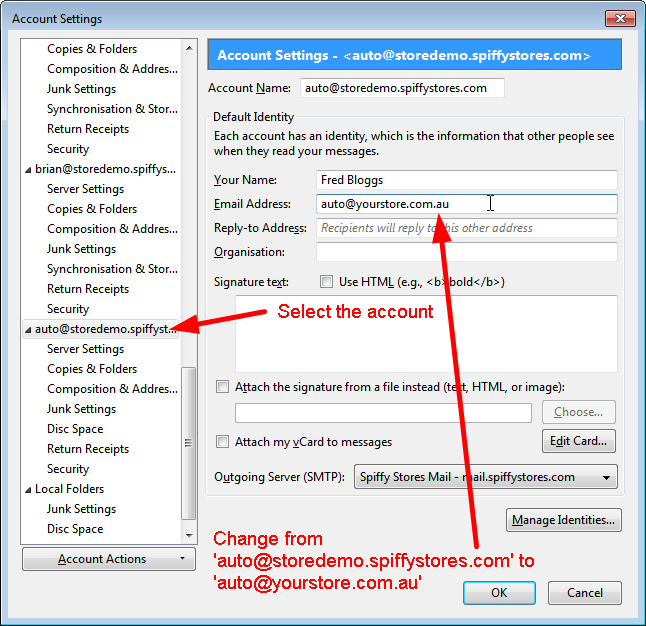
- If you have your own domain name, you'll probably want to update your email address to use this instead of the yourstore.spiffystores.com domain name. Just go to "Tools >> Account Settings..." again and then select your new account and update the "Email Address" field and enter your new address using your own domain name. Click "OK" to save the update. Use your own domain names, rather than the values shown in the example.
- You may need to review your account settings if you want to customize the way Thunderbird handles your email. You can find more information about Thunderbird at https://support.mozillamessaging.com/en-US/home.


